Tissue-Paper Flower Tutorial
I'm having some fun with color today. Don't mind my horrible nails. I have hobbit hands.
And if you remember this from the third grade, sorry to be redundant. :)

You need tissue paper, and a tiny bit of string!
I used embroidery floss. You can use whatever. Regular floss will work if you haven't any string.

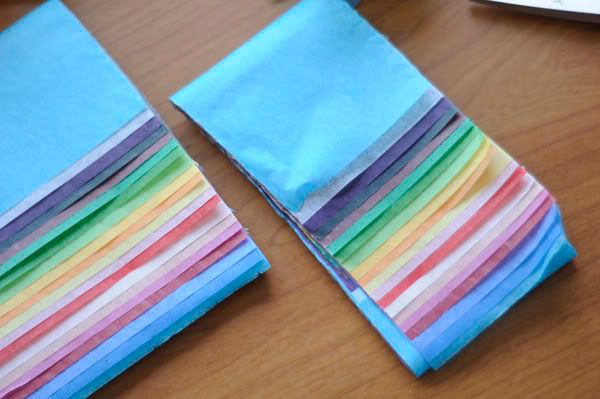
Cut a stack of tissue paper into about a 2 1/2 inch by 4 inch size. The size of your flower will change based on the size you cut the paper, so feel free to experiment! I'm making hair flowers so this is about the size I liked best.

Cut the stack into a fun shape! My favorite is like this. You could also try rounding the ends, instead of points.

I had about 20 sheets stacked, so I divided them into three (unequal) piles. Each pile makes one flower. The more sheets you use in one flower, the fluffier it will be.

Pinch the sheets in the middle. Hold between your fingers, and keep adding sheets...


Tie a little piece of string around the center of all the sheets. Double knot it.

Fluff out the petals, however you like. And there you go!!!

Just wait until you see the photoshoot I'm doing tonight with these babies!!!!

Have fun!!!
Comments
And apparently I was a distracted 3rd grader, because I definitely don't remember learning this.
Thanks for the tutorial.